
Google Analytics 4 (GA4) is a key tool for tracking and analyzing your website visitor behavior to optimize your e-commerce website. If you are using Shopify as your e-commerce platform, it is crucial that you set up GA4 correctly.
In thfis article, we’ll provide you with three easy steps to complete a Shopify GA4 setup to ensure you’re taking full advantage of this powerful analytics tool.
CONTENTS
- Shopify Analytics vs GA4 – Which one to use?
- How to complete GA4 setup on Shopify?
- Shopify Analytics or GA4 – When to use?
- How to use GA4 analytics to improve Shopify store performance?
Shopify Analytics vs GA4 – Which one to use?
Shopify Analytics and GA4 both provide valuable e-commerce analytics, but Shopify Analytics lacks some of the finer details that can lead to an incomplete and inaccurate analysis of a Shopify merchant’s consumer journey. For instance, it lacks consumer spending analysis by target audience. On the other hand, GA4 offers more detailed information, but it’s complex and challenging for newcomers. Although GA4 provides greater detail, it can be intimidating for beginners.
So which one should Shopify merchants choose as their main analytics tool? Best answer is that both should be used at the same time.
Read more | Why Does Your Shopify Need to Connect GA4?
How to complete GA4 setup on Shopify?
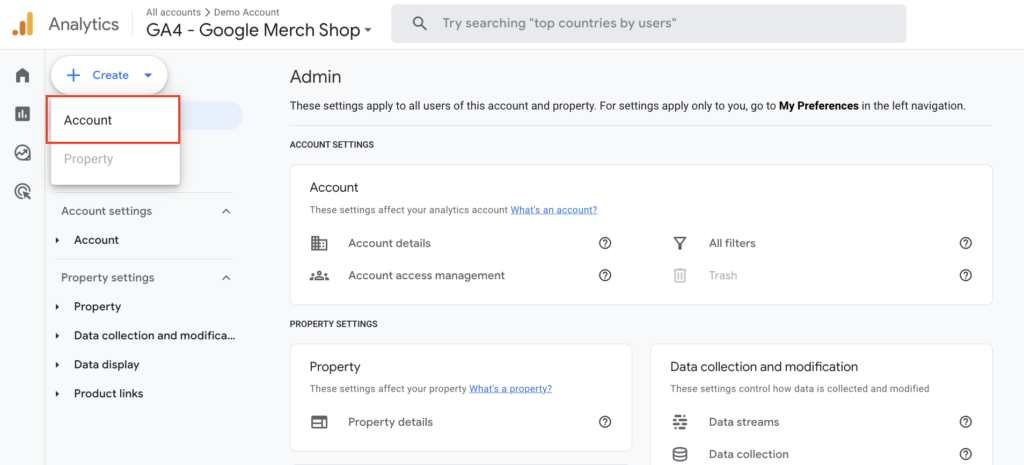
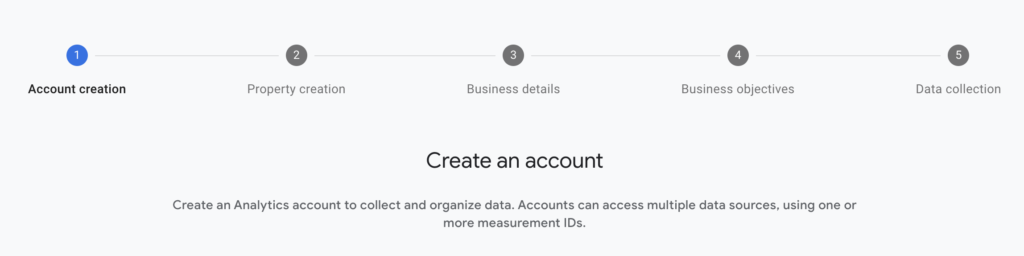
Step 1: Create GA4 Account and Properties
Before you can start setting up GA4, you’ll need to head over to Google Analytics and create a GA4 for your Shopify store.
- Click the Settings icon in the bottom left corner, and then click Create Account next to Accounts.
- Enter your account name, select a time zone and country, and click Next.
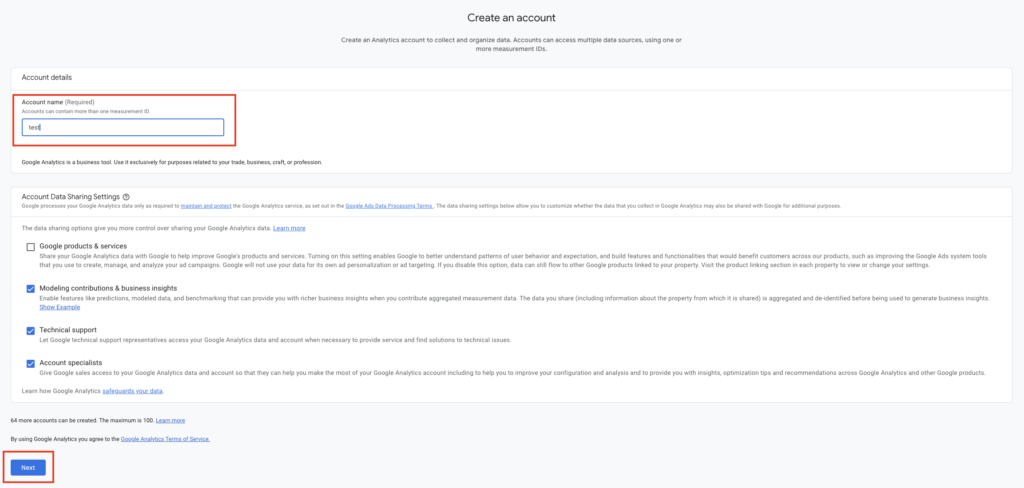
- Under “Create Account”, enter your company name (if you have only one brand, then the account can be named the same as the resource).
- Follow the steps to fill out the store information, and then put the website URL in the “Data Collection” section.
Just follow these five steps to fill out the account, and it will be created successfully!
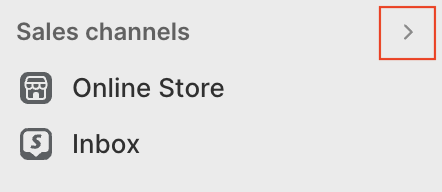
Step 2: Setting up GA4 on Shopify
Follow the steps below to set up GA4 setup on Shopify:
- On the left side of the Shopify backend, click the > symbol next to “Sales channels”.
- Search Google & YouTube and click on it.

- On the Google & YouTube page, click on Settings (next to Overview)

- Select the GA4 resource you want to link to (if you are using other Google apps, you can also bind them together at this time).

When you see this picture, it means the link is successful!
Step 3: Verify GA4 Settings
Finally, verify that your GA4 settings are working correctly:
- Go back to the Google Analytics 4 main page.
- In the menu on the left, select the GA4 attribute you just created.
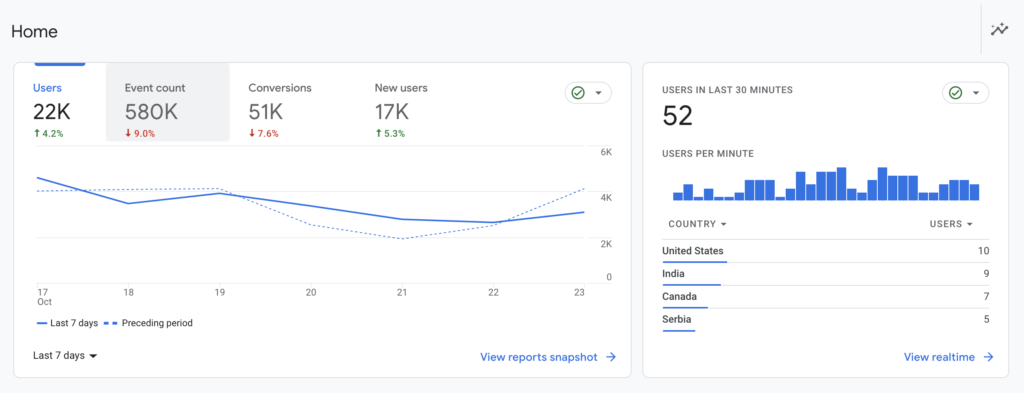
- Click on the “Home” option on the left to confirm that your Shopify store has started collecting data.

- Check GA4 regularly to make sure it’s continuing to collect data.
Shopify Analytics vs GA4 – When to use?
Here’s a summary of the appropriate use cases for Shopify Analytics and GA4 to help Shopify merchants more effectively navigate the rapidly changing e-commerce landscape and quickly adjust their sales strategies:
Shopify Analytics – for a quick look at daily status for any analysis of customers, products, inventory and sales.
GA4 – for monthly or quarterly marketing strategy planning, for observing consumer journeys, spending scenarios, marketing and advertising analytics.
How to use GA4 analytics to improve Shopify store performance?
Once GA4 installed on Shopify, merchants can use GA4 to track and analyze website consumer behavior on Shopify stores and optimize your eCommerce business. If you want to improve performance, it’s important to keep looking at GA4 to make sure it continues to work correctly and make meaningful optimization decisions based on the data. But what if you can’t read anything in GA4 and don’t know what to do?
TenMax GA4 integration solution team is your best choice, we provide the most professional services, spanning from implementing GA4 custom events to seamlessly connecting BigQuery to Looker Studio, helping your store to be more competitive.
Consult with TenMax professional integration team now, and get a free GA4 health check service!